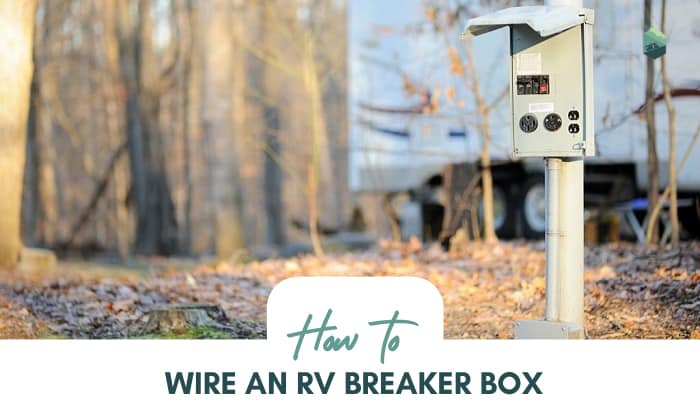
An RV is a vehicle with appliances that let us live our life while we explore the world. However, between trips, there will be times when we need to park our RV at home and power it.
To do so, we would have to wire a 30 amp single pole breaker to accommodate the RV’s 120V system, which is unlike the standard electrical network in houses.
This article will give you an overview of how to wire an RV breaker box
Page Contents
Simple Steps to Wire a Breaker Box
What You’ll Need
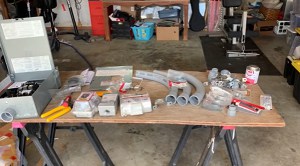
Wiring an RV breaker box can be more difficult with an incomplete set of required materials. Here are the tools you’ll need for this project.
- Marker
- Electric drill
- 3/8-inch wall anchors
- Industrial Gloves
- Safety glasses
- Voltage meter
- Screwdriver
- Weatherproof box (deep-lid with flip-up cover) with TT-30R outlet
- Size-8 screws
- Single-pole 30 amp RV breaker
- Two ¾ inch PVC connectors and lock nuts
- Elbow connector
- PVC pipe, PVC cutter
- Measuring tape
- 10 gauge wires (red, green, and white)
Step-by-Step Guide
Step 1: Turn Off the Electrical Supply
Cut off the main electrical supply at the breaker panel.
The panel will likely have a cover that’s kept in place by screws. Use a screwdriver to remove them and put the cover aside.
Before continuing, it’s imperative to make sure the power is off. Put the two tips of the voltage detector at the breaker terminals. The voltmeter should indicate no voltage.
Step 2: Prepare the Main Breaker Panel and the Weatherproof Box
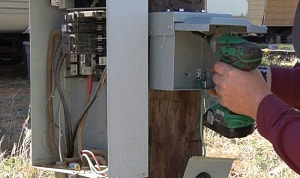
- Knock out a circular hole at the bottom of the main breaker panel. Then, fill the hole with a PVC connector and a lock nut.
- Next, add an elbow connector to the PVC connector. Make sure the elbow is sufficiently long so that it reaches near the weatherproof box.
- Knock out a circular hole at the bottom of the weatherproof box. Same as the breaker panel, insert a ¾ inch PVC connector into the circular hole and secure it.
- Measure the distance between the PVC on the main breaker box and the PVC on the outlet box. Then, cut a PVC pipe with the same length and use said tube to connect the two boxes.
Step 3: Secure the Weatherproof Box to the Wall
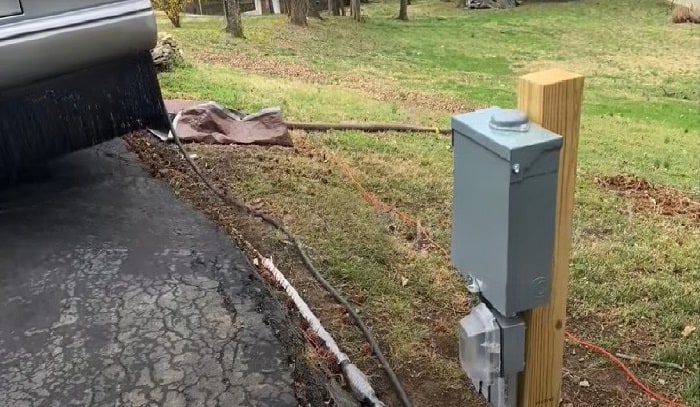
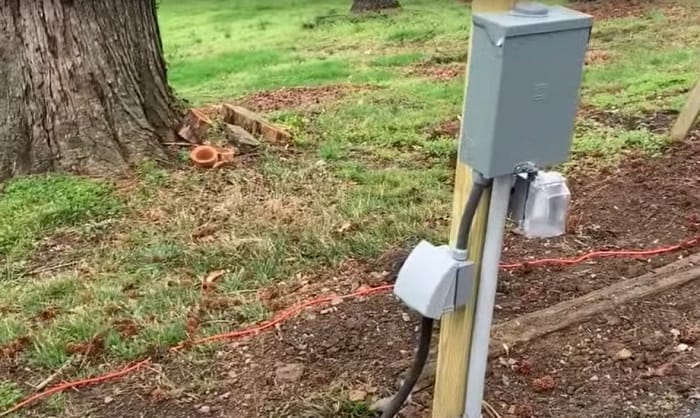
To protect the new electric outlet from external elements, it is best to use a weatherproof box. I recommend picking a box with a cover and a spring mechanism that prevents accidental opening.
Take out the plate in the weatherproof box that has the 30A outlet.
Decide where on the wall you want to put the box and mark two locations for the screw holes. Then, drill into them and use size-eight screws to secure the box.
Remember to tap wall anchors into the holes before putting the screws in. These will help the screws stay in place and support the weight of the box.
The weatherproof box should be at least 24 inches above the ground.
Step 4: Insert the Wires
Take your red, green, and white wires (10 gauge wire size) and insert them into the electrical panel and the weatherproof box.
For the weatherproof outlet box:
- The hot wire goes into the copper connector.
- The neutral wire goes into the silver connector.
- Insert the ground wire into the grounding bus.
- Put the outlet plate back into the box and secure the plate with screws.
For the breaker box:
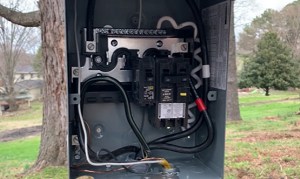
- The ground wire goes into a grounding bus.
- The neutral wire goes into a neutral bus.
- Put the 30A breaker into an empty slot, then secure the hot wire into it.
That’s it! You’re done wiring your camper breaker box.
Frequently Asked Questions
What Are the Common Types of Electrical Hookups at Campsites?
Most RV parks will have a 50 amp and 30 amp RV power outlet. Generally, the 50-amp type is less common, so if your camper runs on 50-amp outputs, it’s best to buy an adapter before a trip to use 30A service when necessary.
How Do I Know if My RV Uses 30 Amps or 50 Amps?
The easiest way is to look at the plug on your camper. The 30 amp plug has 3 prongs, while the 50 amp one has 4 prongs. If you have the latter, you’ll need a 50-amp RV breaker box.
What is the Cost of an RV Breaker Box Replacement?
If you buy all the tools plugs, wires, circuit breakers, etc and do the installation yourself, you’ll spend around $200 to $300. On the other hand, professional work will cost around $400 to $1000.
Can I Plug My RV Into a 110v Outlet?
Yes, but you’ll need an adapter because your RV plug won’t fit the standard 110V home outlet.
Conclusion
We hope the information above is helpful to you. That said, it is best to call a professional if you are not used to dealing with electrical setups.
Do you know how to wire an RV breaker box? If you have any experience with this task or any wiring diagram you like to share, feel free to tell us.
“Hi, I’m Francis’ husband—Calvin. Our story began with our shared passion for traveling. I have had a career journey for over 11 years at Ford Motor Company, where I took on the role of BMS SW Process Engineer.
Together with my wife, I have dedicated countless hours to exploring every nook and corner of the world. Ten years living in an RV may seem long, but time seems to fly by when I’m doing what I love with the person I love.
FMCA’s 103rd International Convention & RV Expo in Gillette, WY,
Like my wife, I hope to help you see the beauty of traveling off the beaten path by sharing insights into this lifestyle. In addition to my corporate roles, I also launched our website – Outdoorbits, in 2015 and continue to contribute my knowledge and skills to the present day. And I’ll be completely honest with you—no hiding the truth or sugarcoating the possible challenges.
So, if you want to run away from the busy lifestyle to embrace nature, I’m your guy.”
