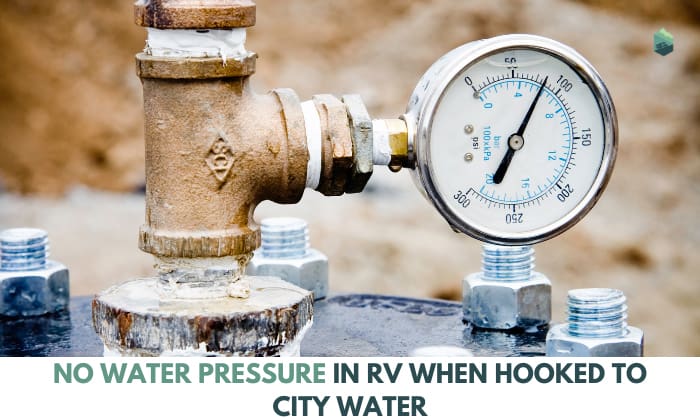
Having no water pressure in RV when hooked to city water is a predicament no RVer should experience. After all, the joys of RVing hinge partly on access to necessities like water and power.
Water not flowing in RV units can indicate pressure issues. Water flow obstructions, faulty plumbing components, and user oversight can explain these problems. However, learning how to fix them is as crucial as knowing the cause.
Page Contents
Common Causes of Low Water Pressure
What causes RV water pressure problems? The following points are the most likely culprits behind such issues:
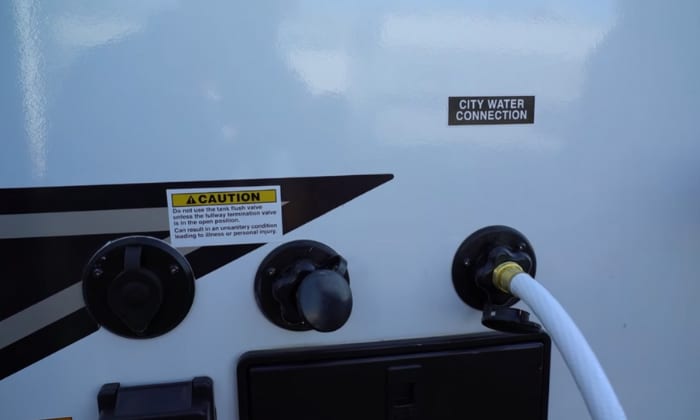
- An RV city water connection not working can be due to low water pressure at the campsite.
- Kinks and bends in the hose can produce intermittent water supply (i.e., the water starts strong then drops).
- The filter, aerator, or water pressure regulator gets clogged or faulty.
- Calcium phosphate and other minerals can produce hard limescale deposits that reduce water flow and pressure.
- Some showerhead designs can produce lower water pressure than others.
- Leaky pipes and fittings impact water pressure by allowing water to pass through cracks.
Troubleshooting Steps for No Water Pressure in RV
We know what causes low or no water pressure in RVs. The next question we must answer is, “How do you get good water pressure in RV units?”
1. Check the Campsite’s Water Pressure Level
Start by ruling out a campground-wide water pressure issue. Ensure you’re not the only RVer at the campsite experiencing this problem.
For example, is the RV city water check valve stuck closed? You can inform the RV park management about the issue.
While waiting for the issue to be resolved, you can fill the RV fresh water tank or use a booster pump to increase the water pressure.
2. Assess the Freshwater Hose for Signs of Damage or Obstruction
Water that starts strong then weakens indicates a kink in the freshwater hose. So, check the pipeline for signs of punctures, bends, kinks, and other deformities compromising water flow and pressure. Assess the connections, too.
For a quick temporary fix, straighten kinks and cover punctures/cracks with waterproof tape. However, we recommend replacing your freshwater hose with a new one to avoid this issue in the future.
3. Evaluate the Water Filter
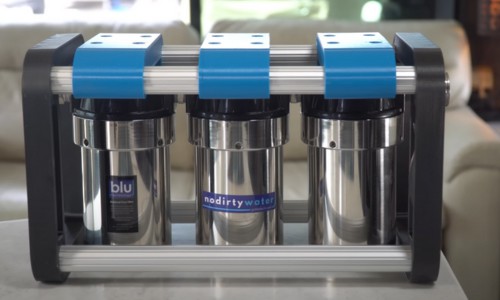
Some water filters have removable and reusable cartridges. You can remove these elements for cleaning to improve the water pressure. For particularly dirty filters, you should soak them in a soapy solution to make sure they’re spotless.
Alternatively, you can buy a replacement filter, especially if your unit is beyond its rated lifespan. You can also consider adding another filter to reduce the filtration burden on the primary unit.
4. Assess Aerators
Cleaning faucet aerators might be the only thing you need to increase water pressure in RV kitchen faucets.
Use a wrench to loosen the faucet aerator, or do it by hand. Wash the aerator with vinegar to kill germs, and rinse the device well before reinstalling it into the faucet.
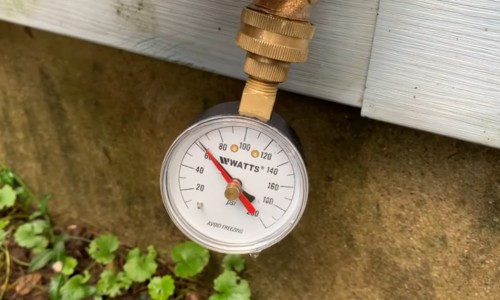
5. Inspect the Water Pressure Regulator

First, try adjusting the RV water pressure regulator by increasing its psi setting, and see whether that addresses the issue. If not, reset the device. Should this fail, there’s a chance the regulator is broken.
Unfortunately, a defective water pressure regulator only has one solution – replacement.
6. Check for Limescale Buildup in Fixtures
You can skip this troubleshooting step if you have a relatively new RV because limescale forms over time. Check for chalk-like stains in RV kitchen sink, faucets, and pipe connections to detect mineral depositions.
Use a portable water softener to dissolve the hard minerals. You can also use water conditioners if you’re wary about the softener regeneration requirements or want a simpler method of preventing limescale formation.
7. Replace the Showerhead
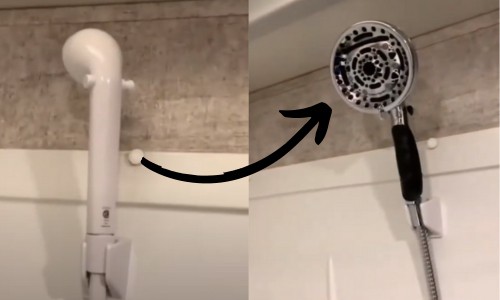
Replace your showerhead in RV showers with a water pressure-friendlier unit, such as one with adjustable pressure settings. Some products provide jet stream functions, while others have built-in aerators.
8. Identify Leaky Pipes and Fittings
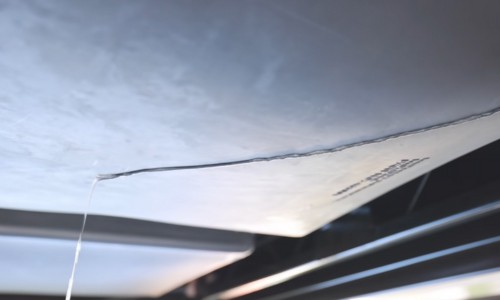
Walk around the RV and look for signs of water leaks. Examples are dripping noise, puddles on the floor, unexplained misting on surfaces, and moist bubbles on walls.
Although you can address leaky pipes and fittings DIY-style, hiring an RV plumber would be better for managing these issues. It can be costly, but leaky plumbing is no joke.
Conclusion
No water pressure in RV when hooked to city water is an experience no RVer wants to encounter. Thankfully, addressing the culprit is easier with knowledge of the most common causes of low or no water pressure in mobile homes.
Although our troubleshooting guide is simple, we recognize some RVers might be “less confident” in implementing these fixes. Hence, a professional should always be a consideration for any RV owner lacking the skills necessary to fix the issue.
“Hi, I’m Francis’ husband—Calvin. Our story began with our shared passion for traveling. I have had a career journey for over 11 years at Ford Motor Company, where I took on the role of BMS SW Process Engineer.
Together with my wife, I have dedicated countless hours to exploring every nook and corner of the world. Ten years living in an RV may seem long, but time seems to fly by when I’m doing what I love with the person I love.
FMCA’s 103rd International Convention & RV Expo in Gillette, WY,
Like my wife, I hope to help you see the beauty of traveling off the beaten path by sharing insights into this lifestyle. In addition to my corporate roles, I also launched our website – Outdoorbits, in 2015 and continue to contribute my knowledge and skills to the present day. And I’ll be completely honest with you—no hiding the truth or sugarcoating the possible challenges.
So, if you want to run away from the busy lifestyle to embrace nature, I’m your guy.”